Profiles
Reusable equipment, water, mash and fermentation profiles and hop stand curves in BrewForge. Start from a template or your own, mark a default, and reuse them in every recipe.
Profiles hold the settings you reuse from brew to brew: your brewing system, the water you brew with, your usual mash and fermentation schedules and how fast your wort cools during a hop stand. You set them up once and pick them in a recipe instead of typing the same numbers again.
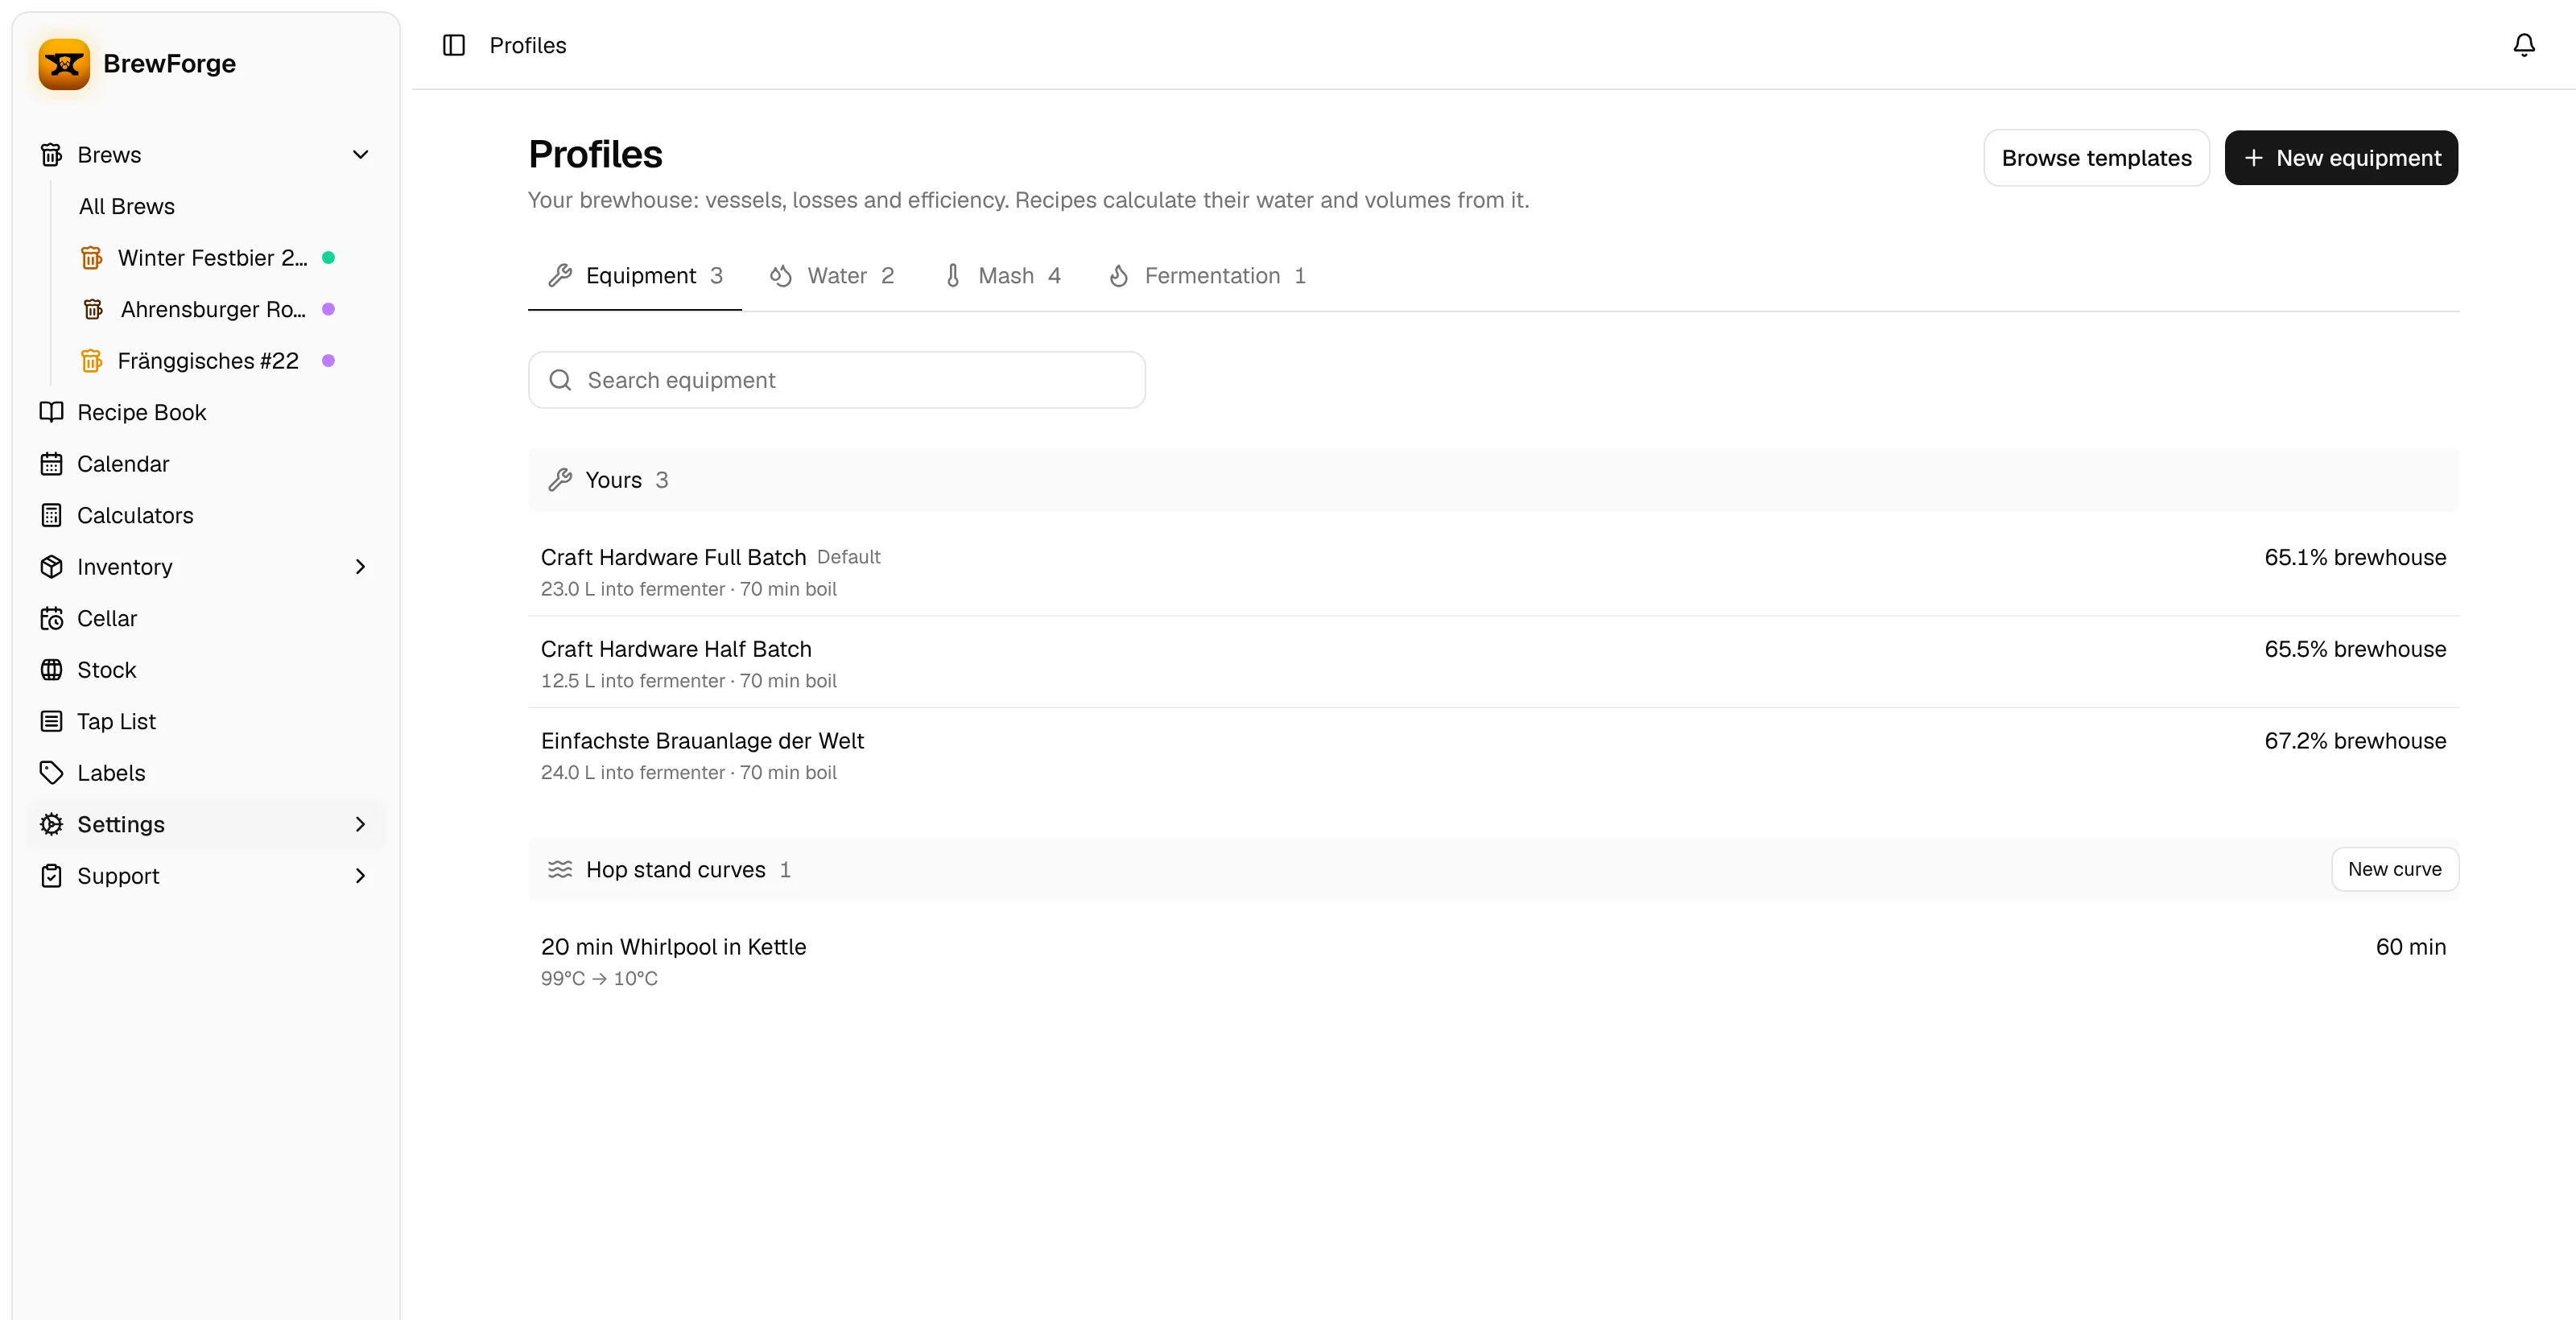
You find them under Profiles in the sidebar (section Setup). Profiles are included in every plan, also the free plan.
Profile types
The page has one tab per profile type. Each tab shows how many profiles you have.
| Tab | What it holds | Details |
|---|---|---|
| Equipment | Your brewhouse: batch size, vessels, losses and efficiency. Hop stand curves are listed below your equipment, because they belong to the kettle. | Equipment profiles, Hop stand curves |
| Water | The ions of a source water, plus pH and conductivity, with calculated hardness and alkalinity | Water profiles |
| Mash | Mash steps with type, temperature, duration and ramp time, including decoctions | Mash profiles |
| Fermentation | Fermentation stages with temperature, duration, ramp time and an optional spunding stage | Fermentation profiles |
The list under Yours shows a short summary per profile, for example batch size, boil time and brewhouse efficiency for equipment, or the step temperatures and total time for a mash profile. Your default profile comes first and is marked Default; a blue dot marks a profile that came from an import, for example the Brewfather import. Type in the search field to filter the list by name. Click a profile to open it.
When a recipe uses a profile, BrewForge copies its settings into the recipe, so you can still change them per brew without touching the profile.
Templates
BrewForge comes with templates for every profile type except hop stand curves: equipment for Grainfather, Brewtools, BrewZilla, Anvil Foundry, Spike Solo and generic setups, classic waters like Pilsen, Munich or Burton-on-Trent, and common mash and fermentation schedules. Templates are not in your list. Click Browse templates to see the templates of the open tab:
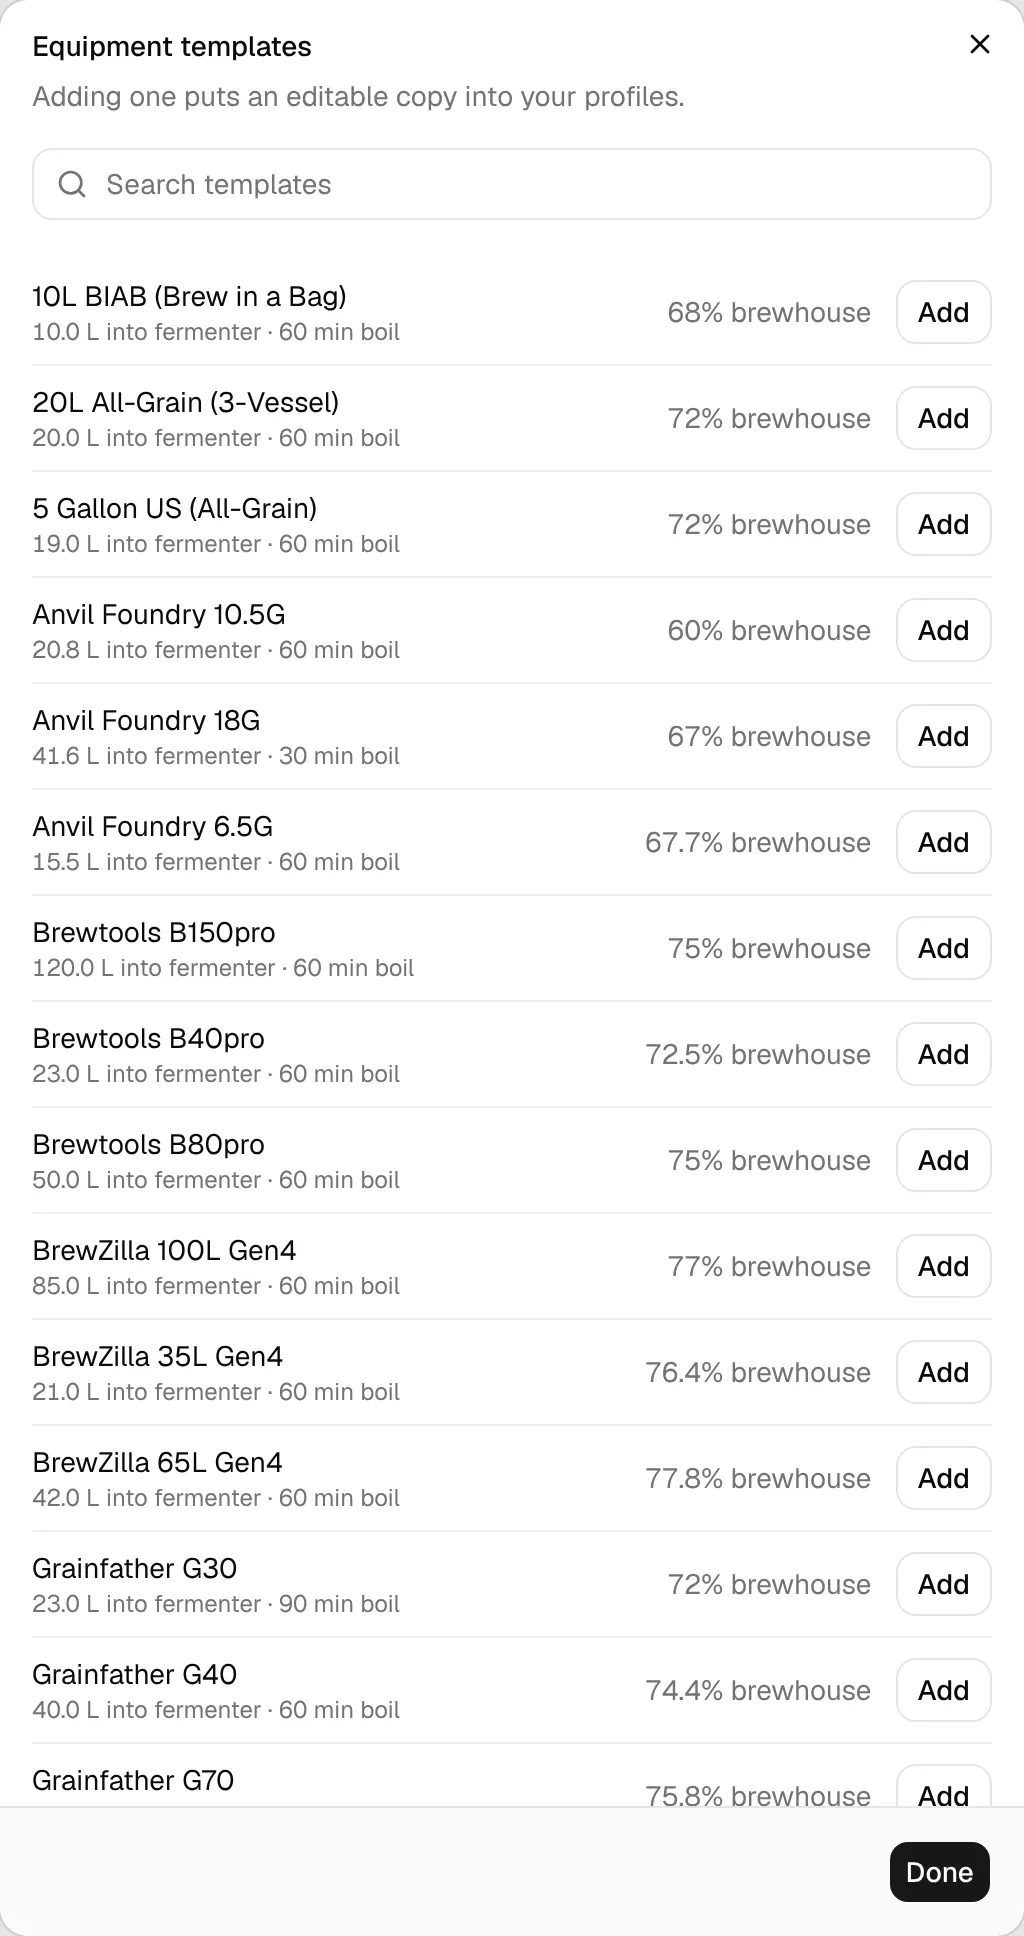
Add puts an editable copy into your profiles under the template's name; the button then turns into Added and links to the new profile. You can add several templates in one go and close the dialog with Done. Click a template's name to look at it first: a template page is read only and has an Add to my profiles button.
Create a profile
Click the button at the top right (New equipment, New water profile, New mash profile or New fermentation profile). Under Start from you choose:
- a new profile (New equipment, New profile),
- Copy of… one of your profiles or a template, or
- for water, a Water report: upload or paste a screenshot of your supplier's water report and BrewForge reads the ions from it. You check the values before the profile is saved. You can read up to three water reports per 24 hours. The Water tab has the same shortcut under your list: Read the values from a screenshot.
Enter a Name and click Create. Mash and fermentation profiles start with one step or stage. The new profile opens right away, where you set everything else.
New equipment has a second step, because the sizes depend on how you brew. See Equipment profiles.
Edit a profile
A profile page has no form and no save button. Every section has an Edit button (or you click a row), which opens a small dialog for that part. When you click Save in the dialog, the change is saved right away; the line under the title shows Saving… and then Saved. If saving fails, it shows the error and a Retry link.
The two arrow buttons next to the title are Undo and Redo. They step back and forth through the changes you made since you opened the page, and save each step.
The profile menu
The ⋯ button at the top right of a profile has the other actions:
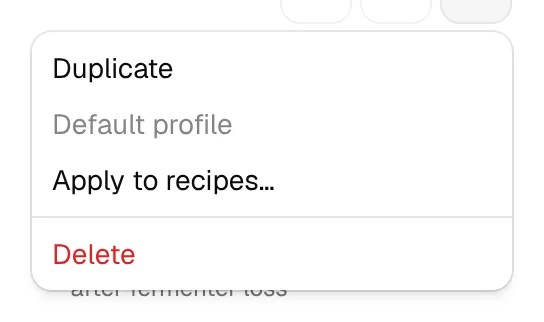
- Duplicate creates a copy and opens it.
- Set as default makes this the profile that is preselected for new brews. On the current default the item reads Default profile and is greyed out. Hop stand curves have no default: they are optional and only used when an equipment profile selects one.
- Apply to recipes… updates existing brews with the profile (equipment, mash and fermentation profiles, see below).
- Delete asks for confirmation and removes the profile. Recipes and brews that use it keep their copy of the values.
Apply changes to recipes
Changing a profile doesn't change brews that already use it. After your first change on an equipment, mash or fermentation profile, the page offers Apply to recipes… below the title (or Not now). The same action is in the profile menu.
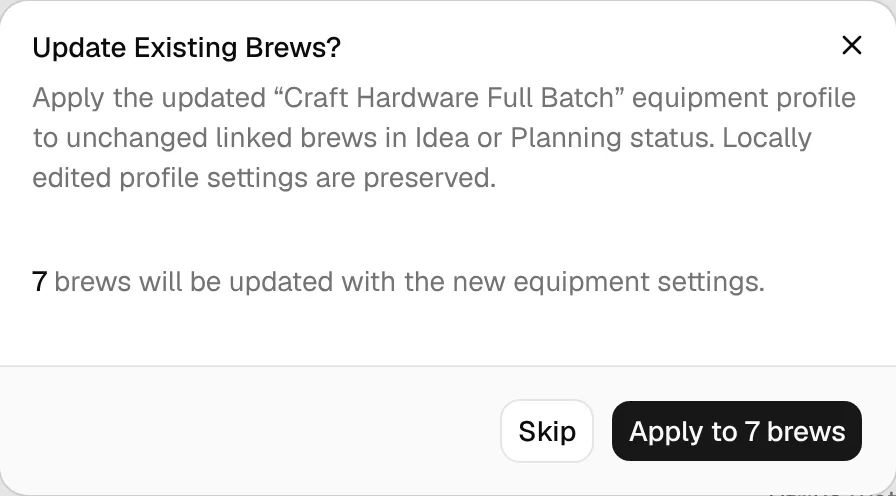
It only updates brews that are linked to this profile, are in Idea or Planning status and where you haven't changed the profile settings locally. Click Apply to N brews to update them, or Skip to leave them as they are.