Fermentation and conditioning
Log gravity and temperature readings or connect a hydrometer, follow fermentation on the chart, record final gravity, plan carbonation and move the beer into conditioning.
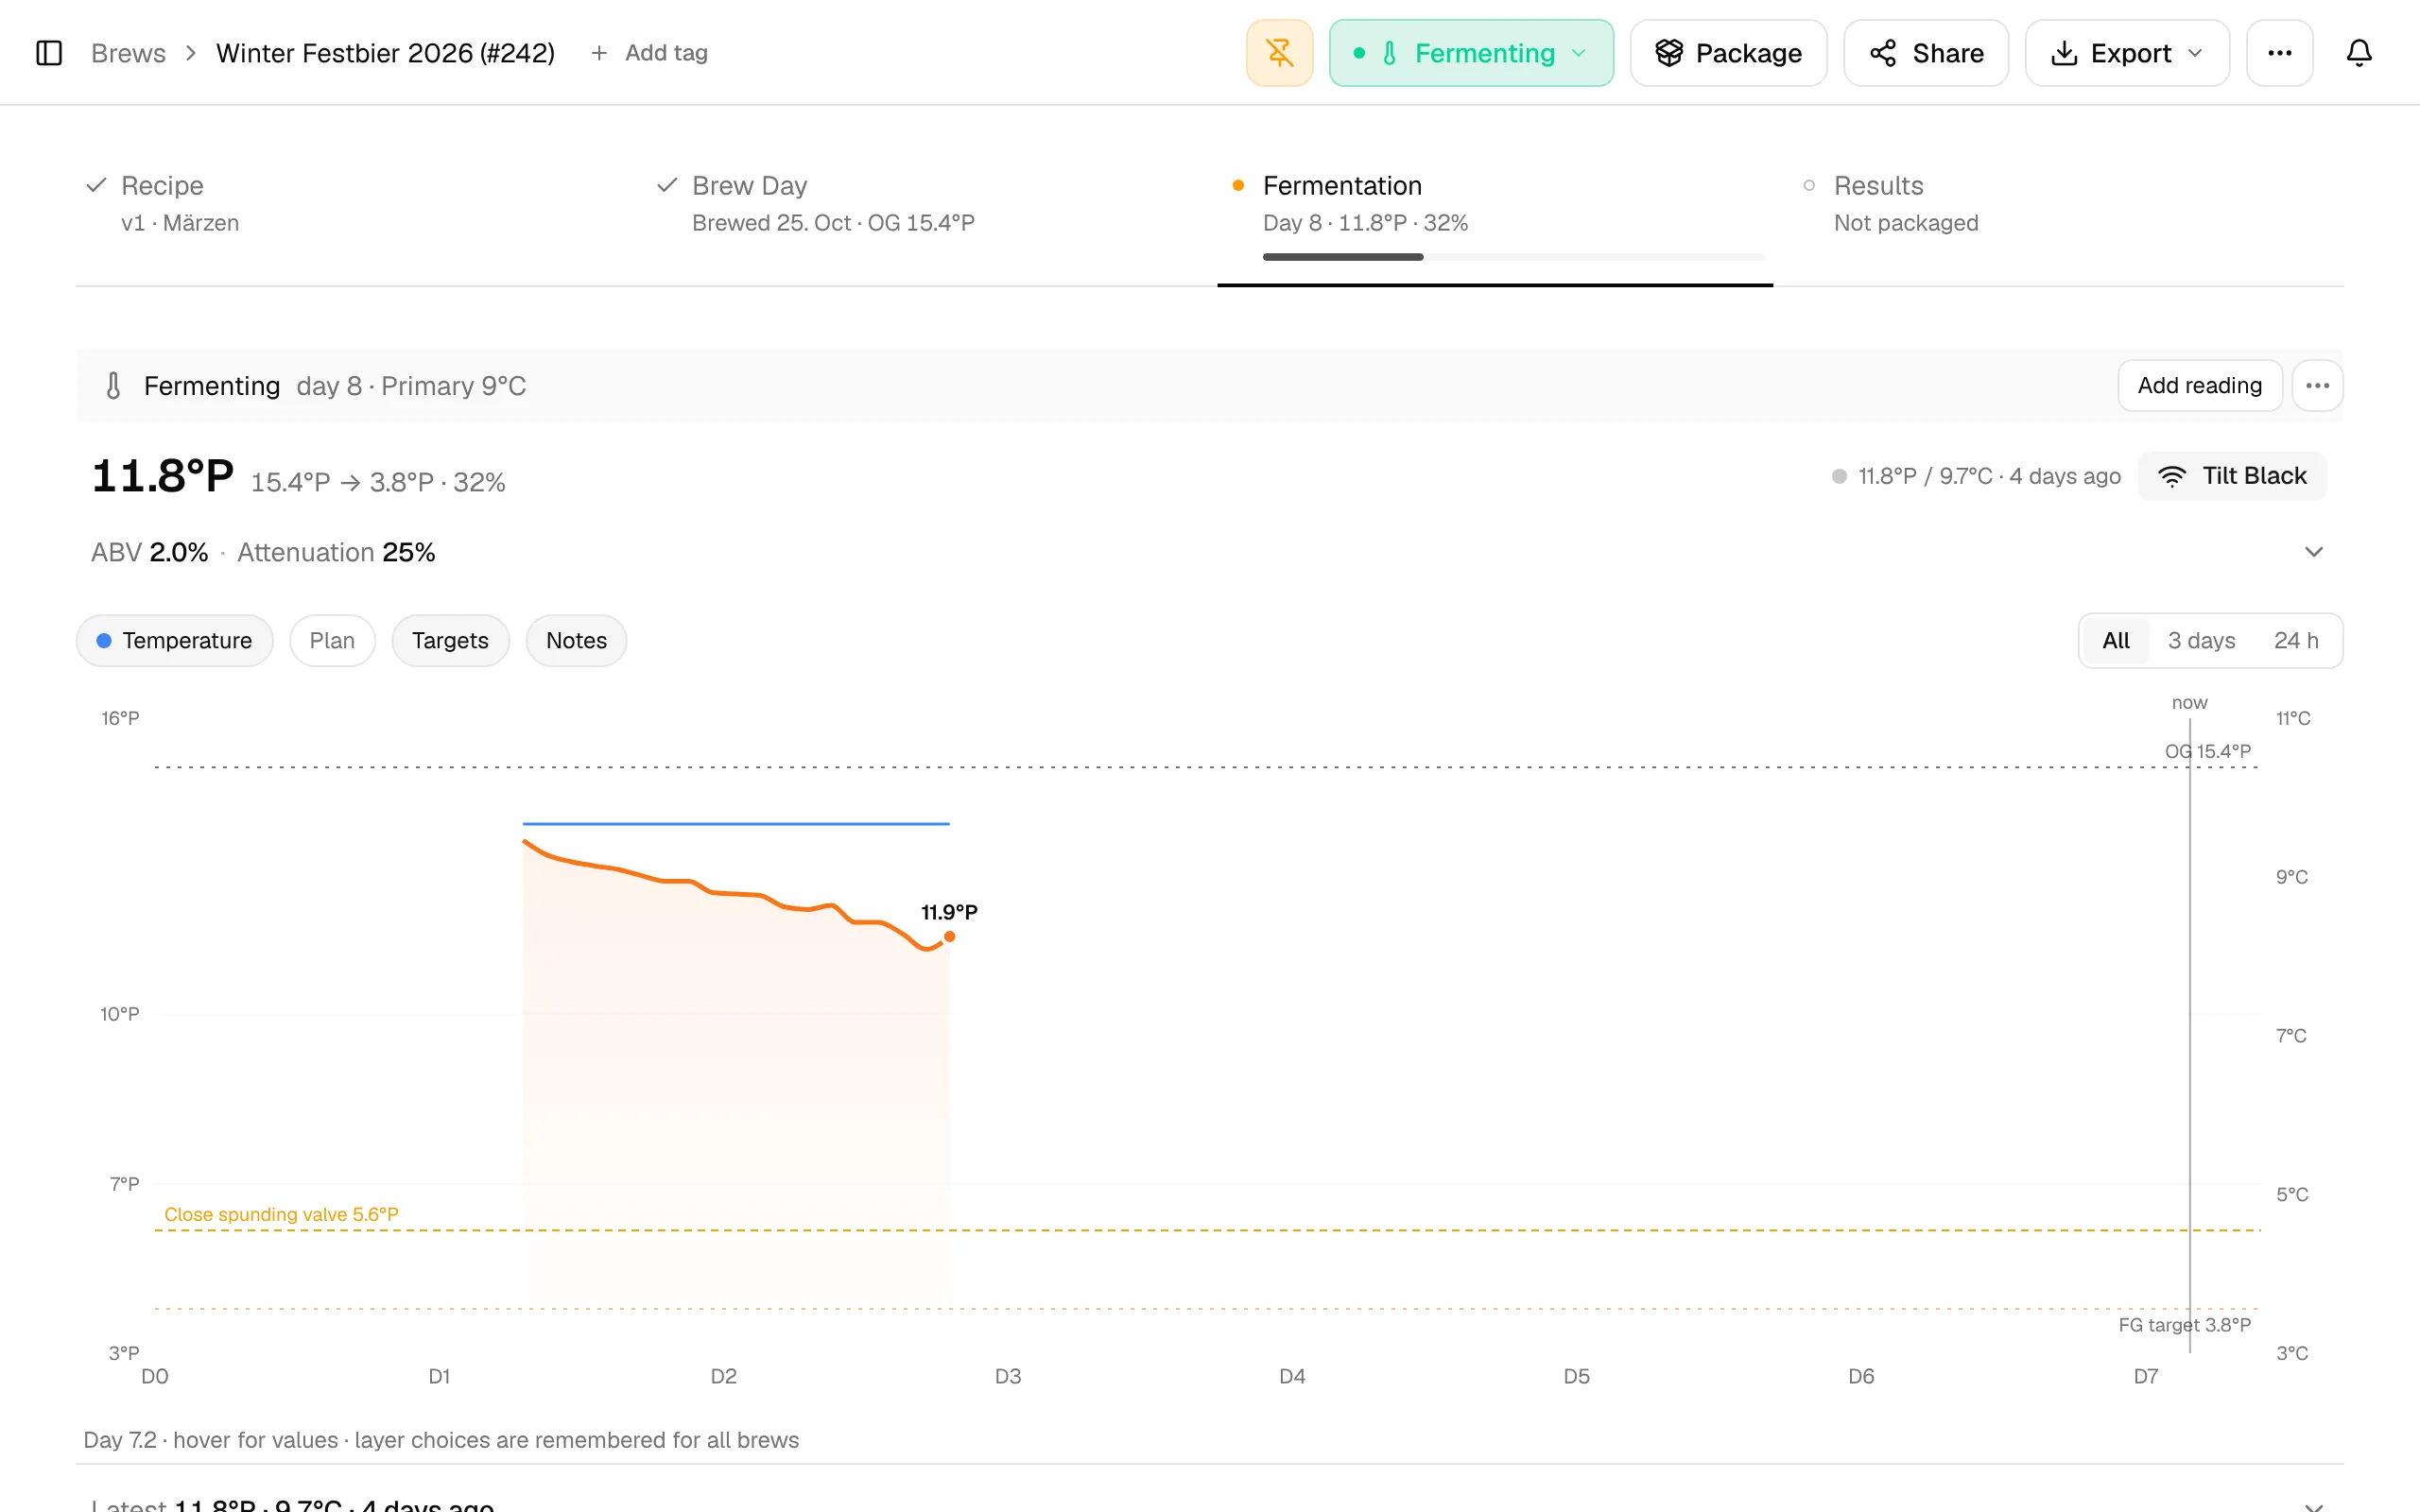
When you complete brew day, the brew moves to Fermenting and opens on the Fermentation tab. The line under the tab name shows the day, the current gravity and the progress, for example Day 8 · 11.8°P · 32%.
Log readings
There are two ways to get readings into a brew:
- By hand: click Add reading and enter the time plus any of gravity, temperature, pH, pressure and a comment.
- Automatically: connect a WiFi hydrometer (iSpindel, Tilt, RAPT Pill, GravityMon and others) with Connect device. See Devices for the setup.
The large number at the top is the current gravity, next to OG → target FG · progress. Click the line with ABV and Attenuation for more, such as the peak temperature and the target CO₂. Below the chart, Latest shows the newest reading and All readings lets you correct or delete individual ones.
Follow progress
- The chart shows gravity and temperature over time. Switch on Plan to see your fermentation stages, Targets for the OG, target FG and spunding lines, and Projection for where the gravity is heading (needs a connected device).
- Next up lists the next events of your fermentation schedule, such as a diacetyl rest, a dry hop or a cold crash, with the days until each.
- For pressure fermentation, Next up also tells you at which gravity to close the spunding valve.
All three use the original gravity (OG) you recorded on brew day and the latest gravity reading, in specific gravity:
progress = (OG − current gravity) / (OG − target FG), where the target FG comes from the recipe
apparent attenuation = (OG − current gravity) / (OG − 1)
ABV = (OG − current gravity) × 131.25
Example: OG 1.063 (15.4 °P), target FG 1.015, current 1.048 → progress (1.063 − 1.048) / (1.063 − 1.015) = 31 %, ABV (1.063 − 1.048) × 131.25 = 2.0 %.
Record the final gravity
When the gravity has not changed for a day, BrewForge says Gravity stable for 24 h. and offers Record FG with the current value. You can also use Set final gravity… in the section's ⋯ menu at any time. The final gravity is locked in, progress is 100 %, and ABV and attenuation use it from then on.
Carbonation
The Carbonation section holds your plan: click Plan, set the Target CO2, and BrewForge works out the priming sugar for bottles or the regulator pressure for a keg.
Conditioning and packaging
When the fermenting stages of your schedule are over, the tab asks whether to move the brew to conditioning. Click Start conditioning. The Conditioning section then counts down the conditioning days from your recipe.
When the beer is ready, record the packaged volume and date on the Results tab. With the cellar (Pro plan), Package in the header moves the beer into kegs, bottles or cans and tracks it in your stock. Then taste it and add your rating and tasting notes on the Results tab. Set the status to Completed once it is finished, or Archived to keep it out of your active lists.
All details: Fermentation tab.
What next?
- Connect a hydrometer so readings arrive on their own: Devices.
- Brew it again: ⋯ → Duplicate Brew → Brew Again (Same Recipe) creates a new batch from the same recipe, Create New Version starts the next iteration and keeps the version history.
- The whole process in one guide: From grain to glass.