Set up your brewery
Activate ingredient packages and create an equipment profile so BrewForge's volumes, gravities and efficiency match your brewing system.
Two things make BrewForge's numbers match your beer: the ingredients you brew with and the equipment you brew on. Set both up once and every new recipe uses them.
Activate ingredient packages
BrewForge's ingredient database is organized in packages, one per supplier (Weyermann, BestMalz, Fermentis, BarthHaas, Yakima Chief and many more). Only ingredients from packages you activate show up when you add malts, hops and yeast to a recipe, which keeps the ingredient search short and relevant.
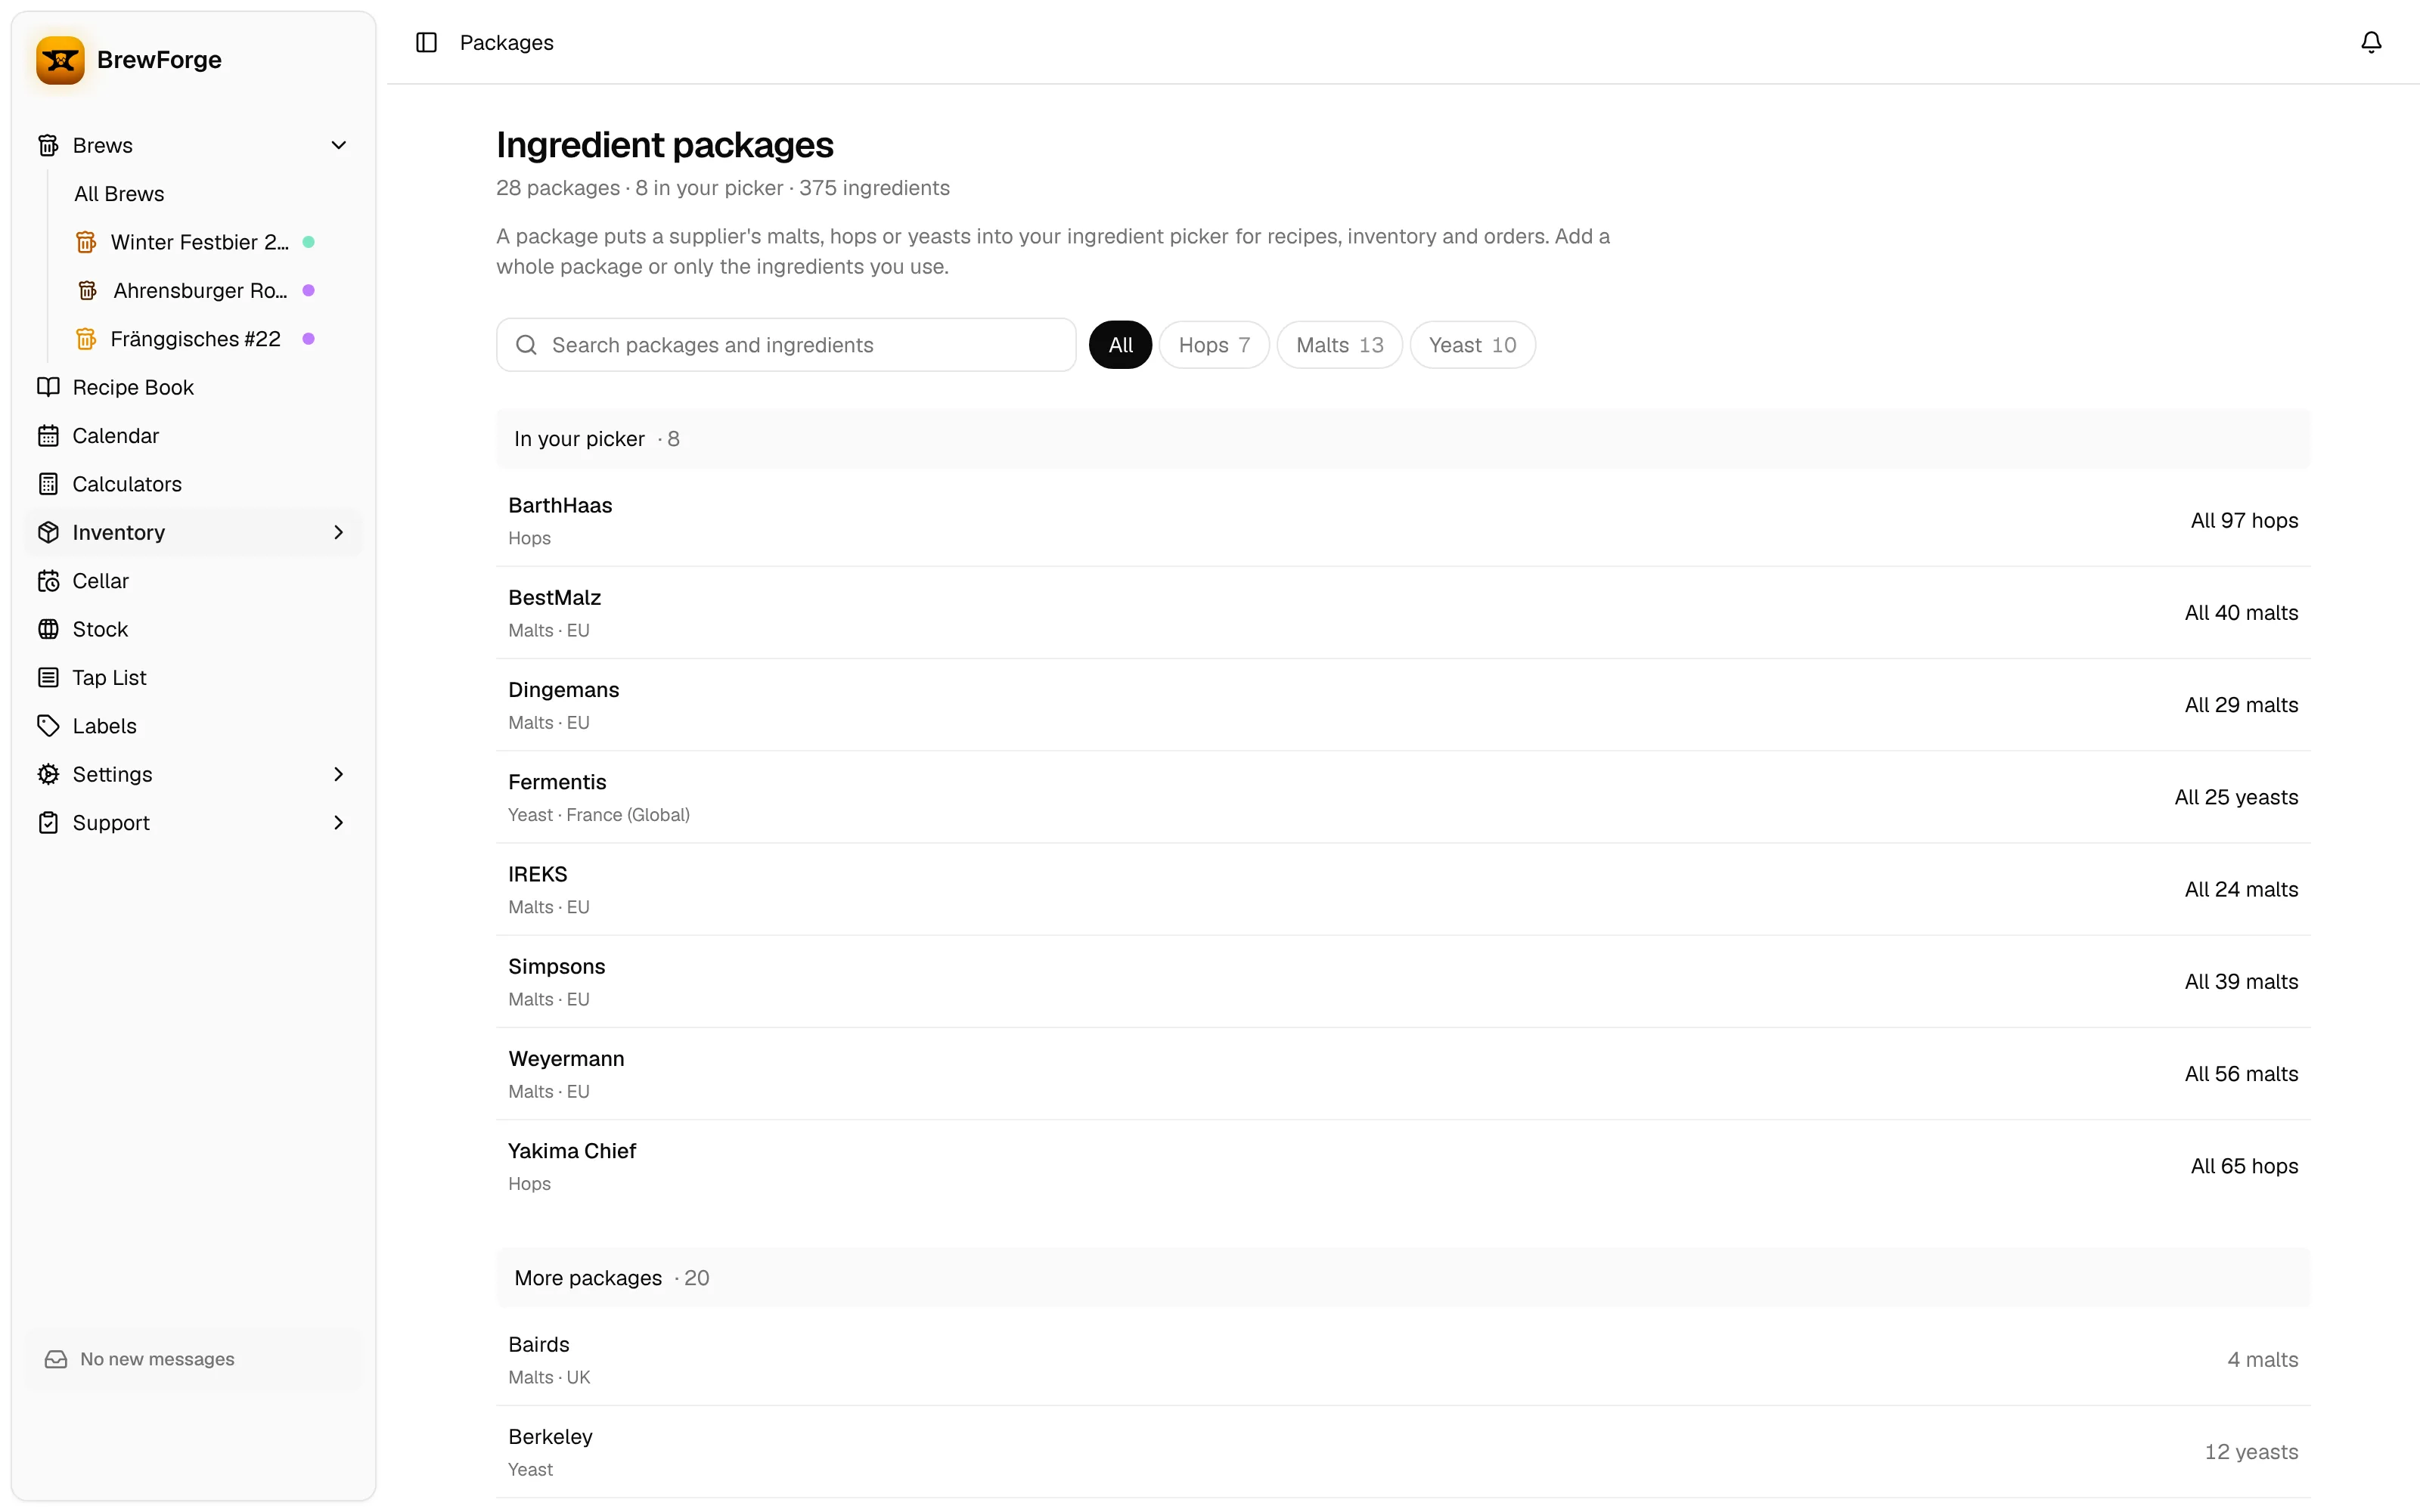
Open Packages (under Ingredients in the sidebar).
Filter by Hops, Malts or Yeast, or search for your supplier or an ingredient.
Open a package and click Add all N to add the whole package, or Choose… to pick single ingredients. Added packages move to In your picker at the top.
Ingredients you add yourself live in My Ingredients and are always available.
Create an equipment profile
An equipment profile describes your brewing system: batch size, boil time, losses and efficiency. BrewForge uses it to calculate water volumes, pre-boil and post-boil volumes, and the gravity you will hit.
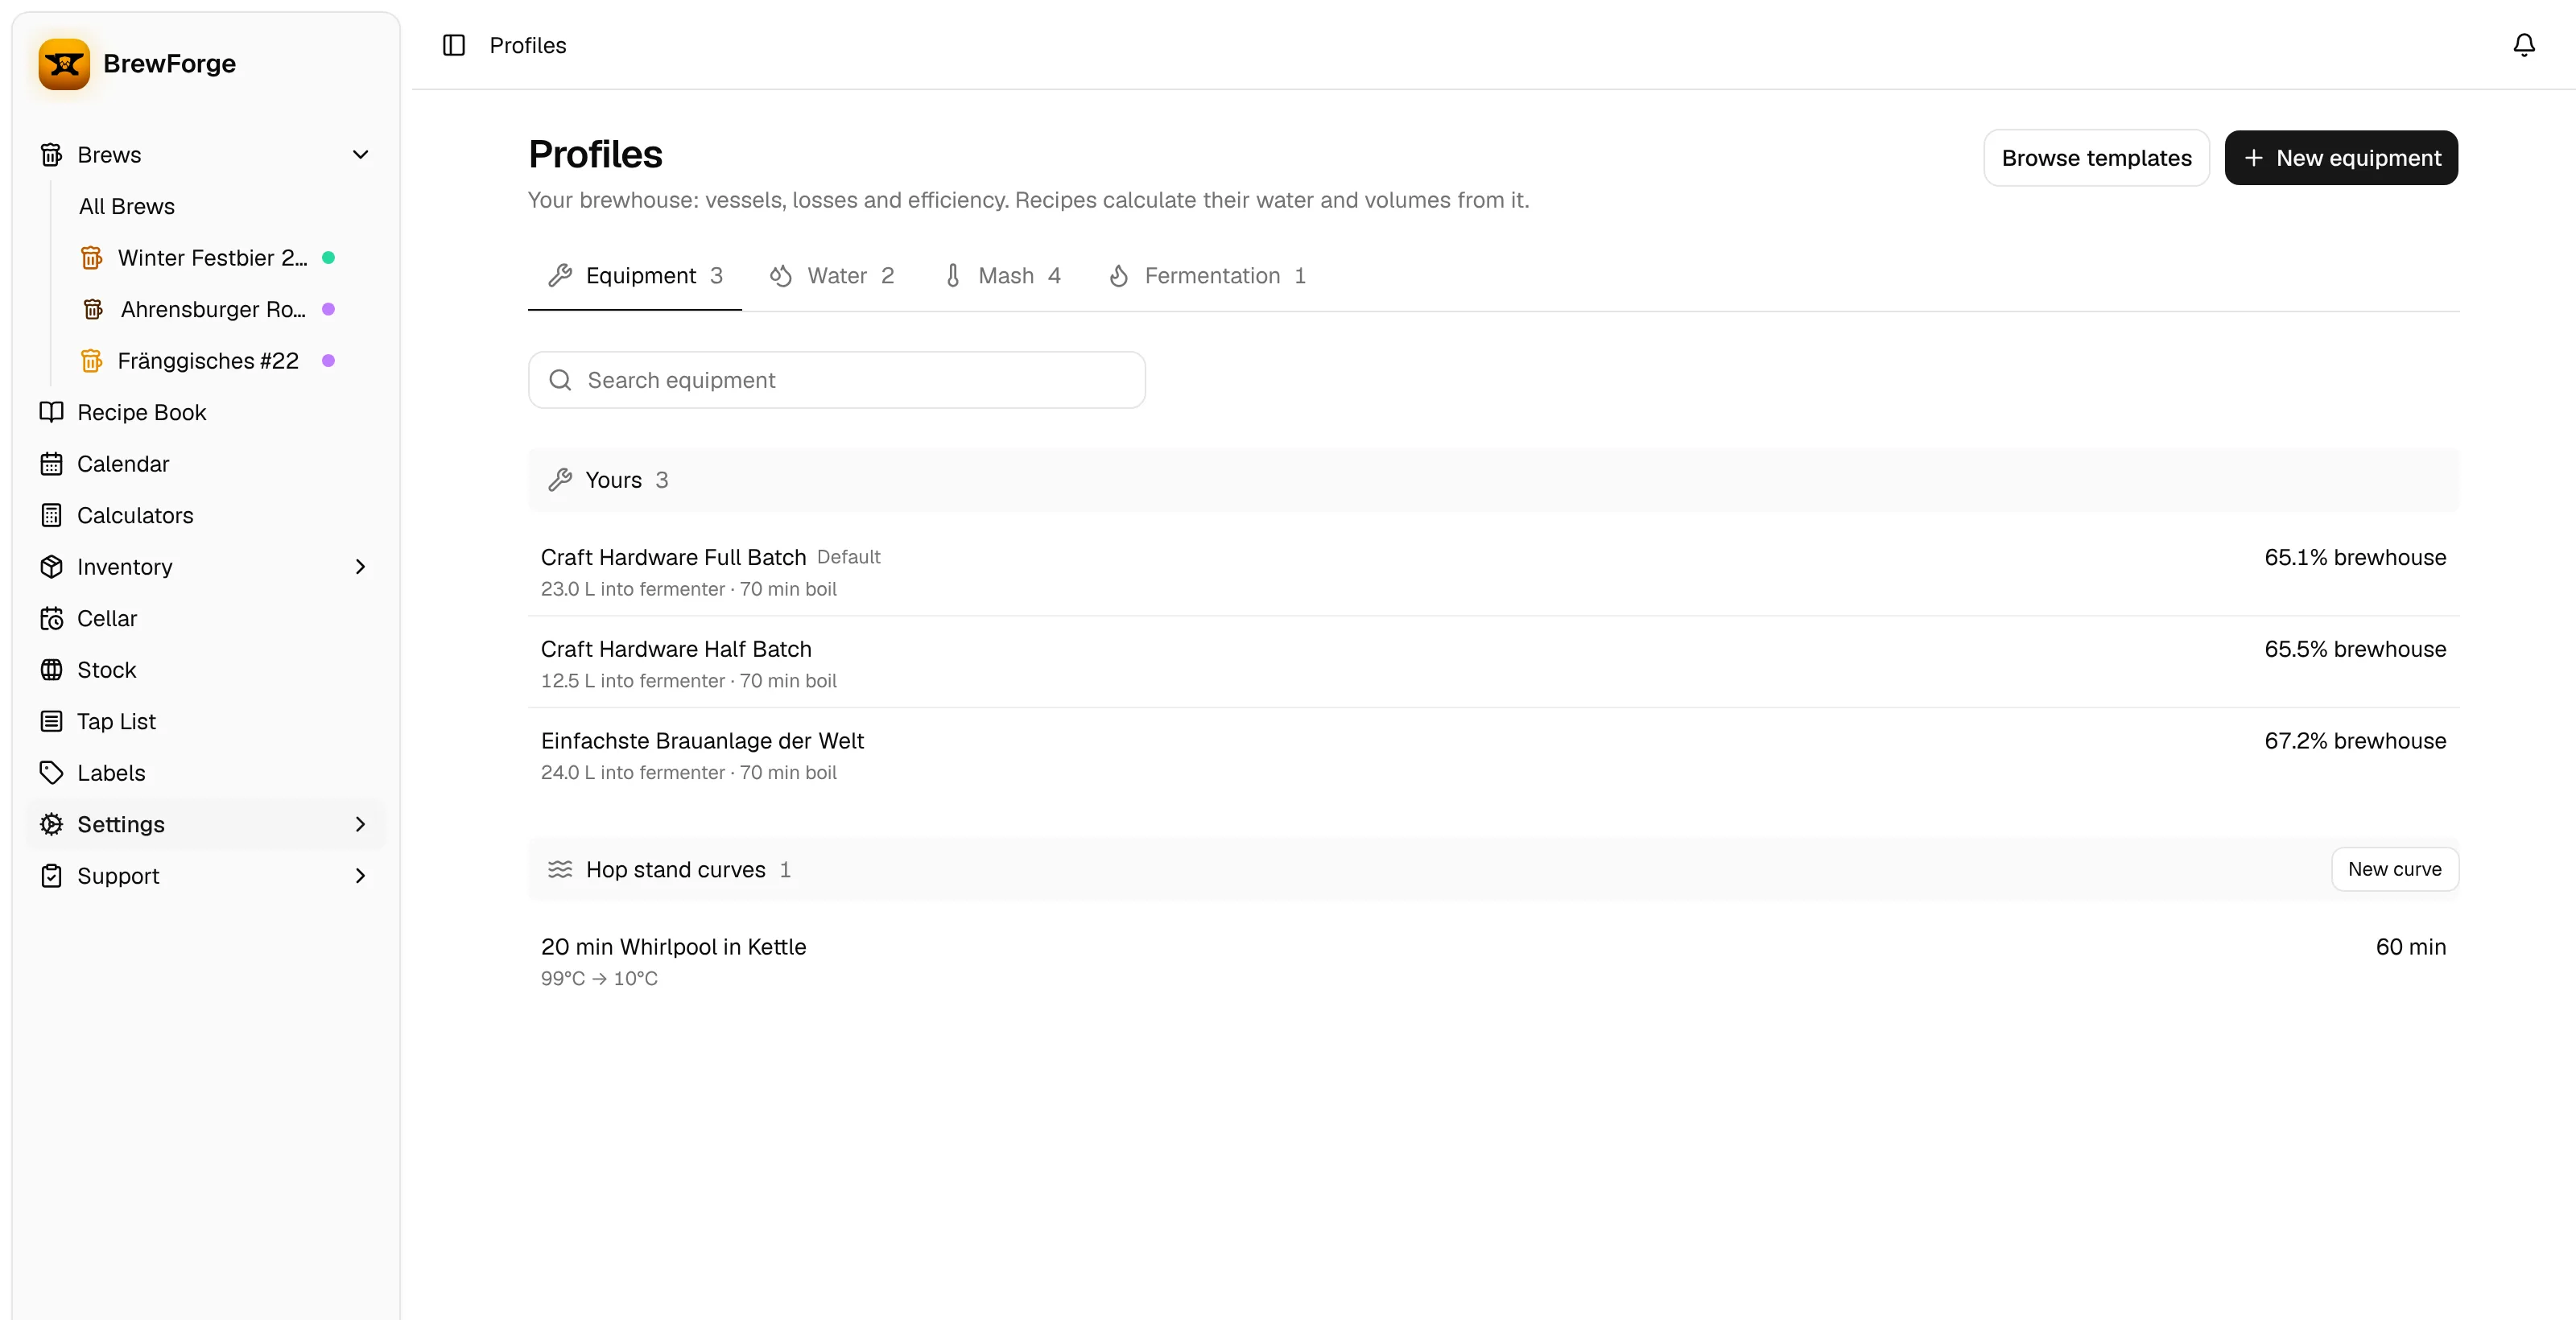
Open Profiles (under Settings) and stay on the Equipment tab. If your system is one of the templates (Grainfather, Brewtools, BrewZilla, Anvil Foundry, Spike Solo, plus generic 3-vessel, BIAB and 5-gallon setups), add it with Browse templates and adjust it. Otherwise click New equipment.
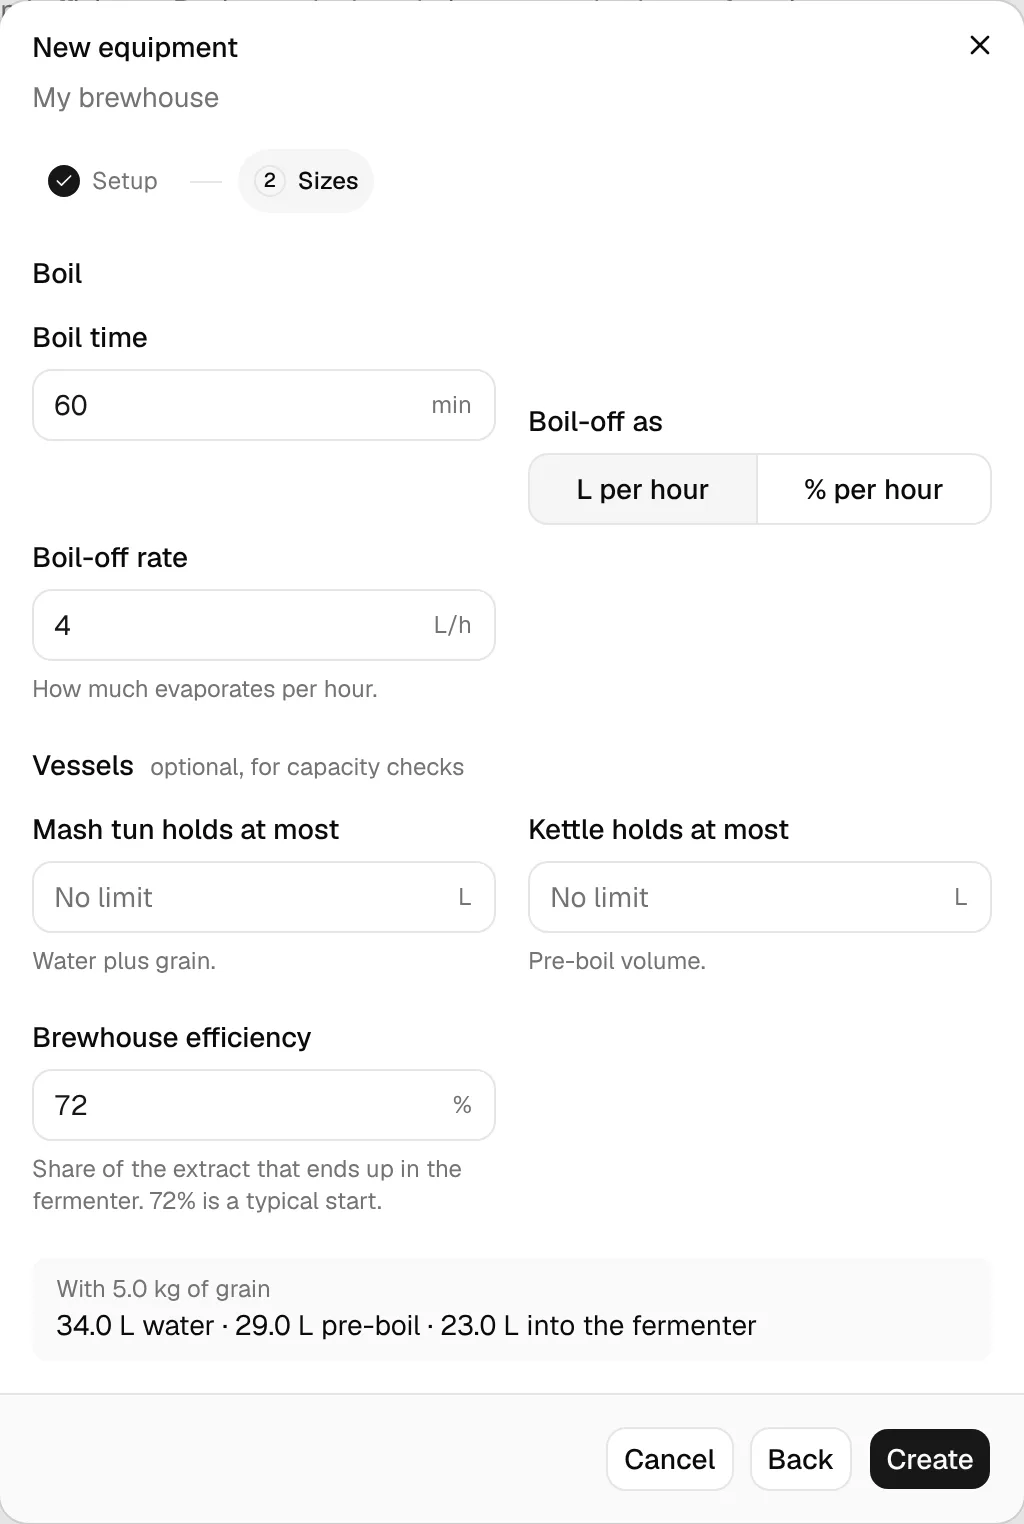
New equipment asks for the basics in two steps: how you brew (Sparge or No sparge (BIAB)), the batch volume and where it is measured, then boil time, boil-off, the sizes of mash tun and kettle and your brewhouse efficiency. A preview shows the water, pre-boil and fermenter volume for an example grist.
The profile then opens with one section per vessel. Click Edit on a section to fill in the rest:
| Section | What to enter |
|---|---|
| Batch | Batch volume, whether it is measured into the fermenter or in the kettle after the boil, boil time, brewhouse or mash efficiency (BrewForge calculates the other one) and hop utilization. |
| Mash tun | Sparge or no sparge, the mash tun size, mash thickness, grain absorption, dead space and loss, and the strike water settings. |
| Hot water tank | Optional: how much water you can heat at once. |
| Kettle | Kettle size, boil-off, trub and chiller loss, hop stand, boiling point (altitude) and cooling shrinkage. |
| Fermenter | Fermenter loss and top-up water. |
Changes are saved right away. To preselect the profile for every new brew, choose Set as default in the ⋯ menu. All fields are explained in Equipment profiles.
Not sure about your numbers?
Start with a template or the defaults and brew once. The brew day screen compares what you planned with what you measured; adjust boil-off, losses and efficiency in the profile after two or three brews.
Mash efficiency is the share of the malt's potential sugar that ends up in the wort before the boil:
mash efficiency = gravity points in the kettle / maximum possible points from the grain bill
Brewhouse efficiency also counts the wort you lose after the boil (trub, chiller, kettle dead space). The boil only concentrates the wort, so the ratio between both is the share of post-boil wort that reaches the fermenter:
brewhouse efficiency = mash efficiency × (volume into fermenter, hot / post-boil volume)
Example: 25 L at 10 °P before the boil is 250 "sugar units". After boiling down to 20 L at 12.5 °P it is still 250. Leaving 2 L of trub behind and transferring 18 L means 225 of 250 units reach the fermenter, so a mash efficiency of 80 % gives a brewhouse efficiency of 80 % × 18/20 = 72 %.
Other profiles
The same Profiles page holds three more profile types and your hop stand curves. You don't need them for your first brew, but they save time later:
- Water: your source water, typed in or read from a screenshot of your water report.
- Mash: reusable mash schedules (steps, temperatures, durations, decoctions).
- Fermentation: temperature schedules for primary, diacetyl rest, cold crash and conditioning.
- Hop stand curves (on the Equipment tab): how your wort cools during a whirlpool, for more accurate whirlpool IBU. Select the curve in your equipment profile's kettle (Hop stand curves).
Next: create your first recipe.